My wife and I are a sucker for animals. We do what we can to help all the little creatures around us. Because of where we live we are constantly getting cats and raccoons that need help and we do all we can. Recently a stray cat had kittens in our yard and we helped out by making sure they had clean water and food. It was nice watching the four little kittens playing as they got older.

Horrible screengrab from a video of three kittens and their mother playing. These three kittens didn’t make it.
One day I walked out to greet my wife who had just gotten home from work when I saw something on the ground, it was one of the kittens. Looking at the video recording of the day showed us what we did not want to know, a dog had come into the yard and killed two kittens, viciously (we saw the attack afterward on our security camera video footage). This happened again to a third so we were down to one. I had to do something.
The problem was that we could not use a conventional spring trap as the kitten was too small and if we trapped the mother we would never get the kitten. That lone kitten was my primary goal. After some reading on the internet, I decided a drop trap would be the perfect answer because I could get them both at once with minimal risk to either. The idea is that since a drop trap is mostly open that the cats would not be as hesitant to go underneath to eat food. Since we had already been giving them an occasional treat of canned cat food and knew they would both eat off the same plate, this seemed like an excellent idea.
The problem was that the only one we could find for sale was online and at about $120 was more than I really wanted to spend. I had to save the kitten though, so I figured I would just make one. Off I went to find plans. After some looking, I decided on a basic design and a rough idea of materials. I measured one of my cats standing to get a rough idea of height and looked at both the pre-made and plans online to decide on a length and width.
Next was a trip to Home Depot to get supplies for the build. I wound up buying six 2″x2″x8′ boards as they were already bundled. I really thought I only needed four but extra never hurts and they were a little over a dollar each so no big expense. Now I needed some kind of covering like a wire mesh. Online they talked about plastic mesh used for landscaping and I found something very similar. It needed to be strong enough to survive repeated attacks by very upset vicious feral cats, but flexible enough that they won’t hurt themselves by flying into it face-first at full speed. I found some temporary fencing that seemed to fit the bill.
I thought I had everything else I needed so off to build it I went.
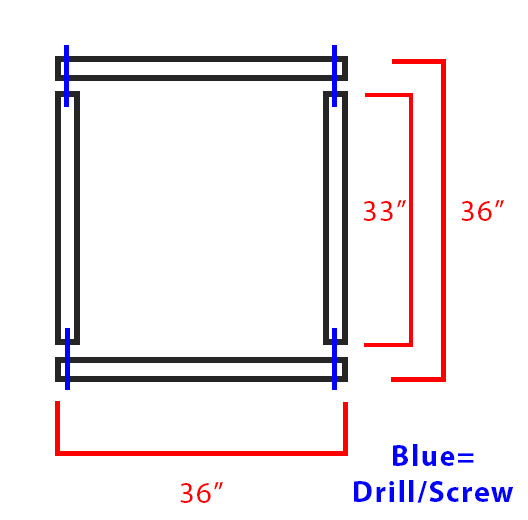
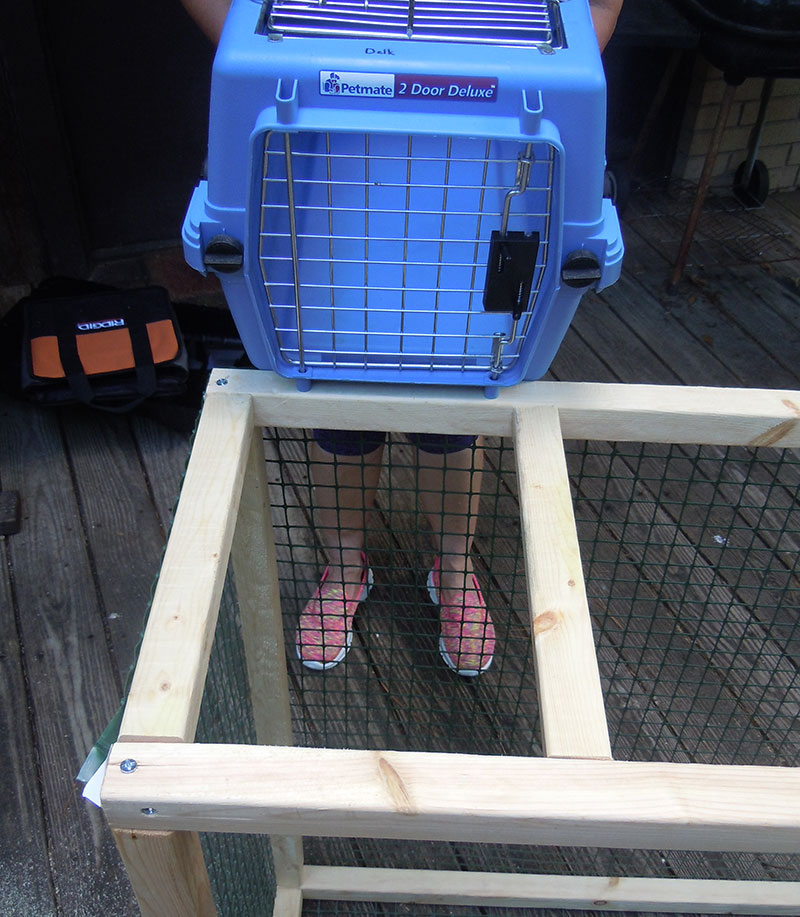
The dimensions I settled on were 36″x36″x16″. This should be big enough to catch them, heavy enough to hold them, lite enough to not hurt them if it falls on their feet or tails and easy enough to make. I needed to make two squares and then join the two squares with four side pieces. This would require four 2″x2″x36″ pieces, four 2″x2″x33″ pieces, and four 2″x2″x13″ pieces to start with. Here is a rough idea of the design of the two squares:
After measuring, marking and cutting the pieces to length I needed to assemble them. I wanted something more than strong enough but something easy and that did not protrude and could possibly hurt them. I decided on a nice long big screw, something like a #10 3.5″ Phillips wood screw should work. Something that size going into a 2″x2″ would have to be predrilled or it would split the wood.

Slowly I predrilled and assembled each joint for the squares and then attached the four side pieces using the same method. Now I needed to attach the covering. I laid the screening I bought over the frame and cut it a little bigger than I would need using scissors.
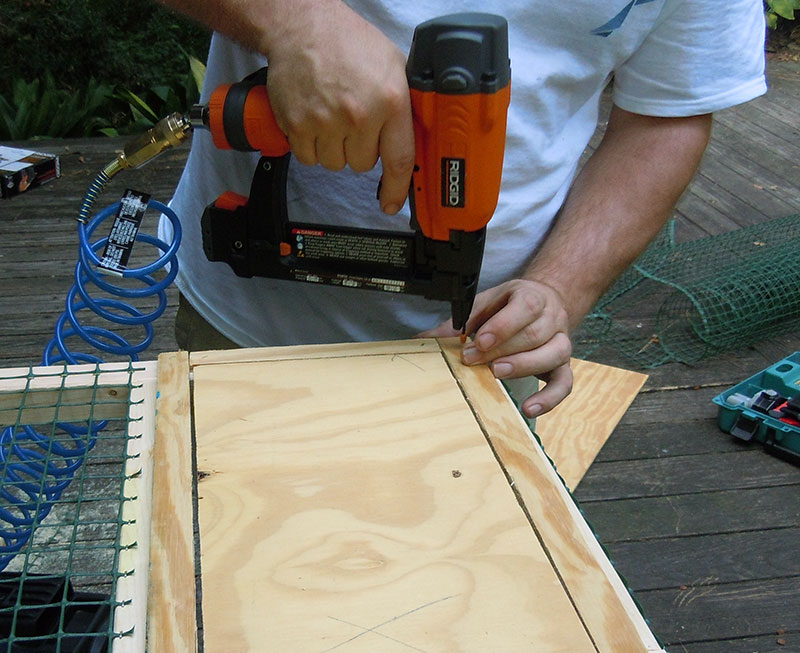
Once the screen was in place I used a stapler to attach it to the wood.
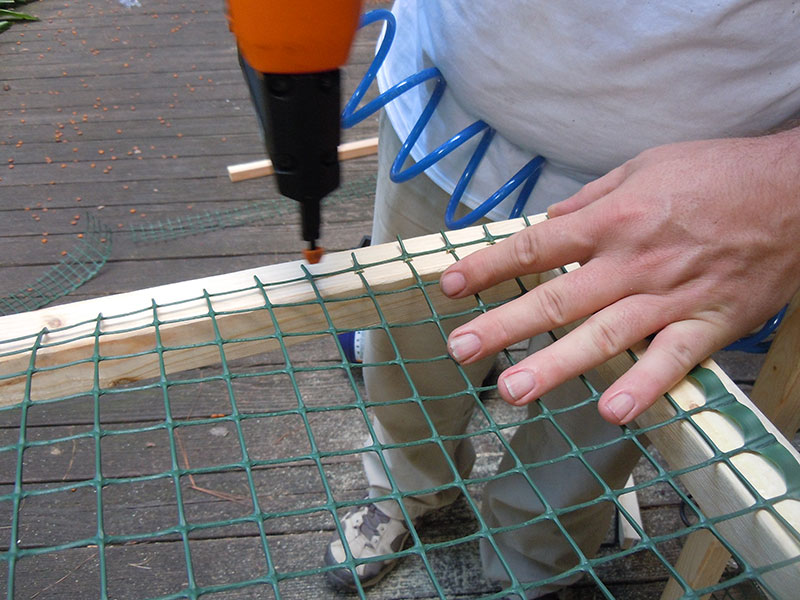
I used an air stapler to make the job faster and easier but you could use a hand stapler just as well. I started by tacking the screening on one end and then pulling it snug on the opposite side and tacking that. When I say tacking I mean that I put about four or five staples across the entire length of the trap’s side. I then go back and staple each and every connection point as shown above. You want to make sure each little strand is stapled so that the animal can not push through where it attaches to the wood.
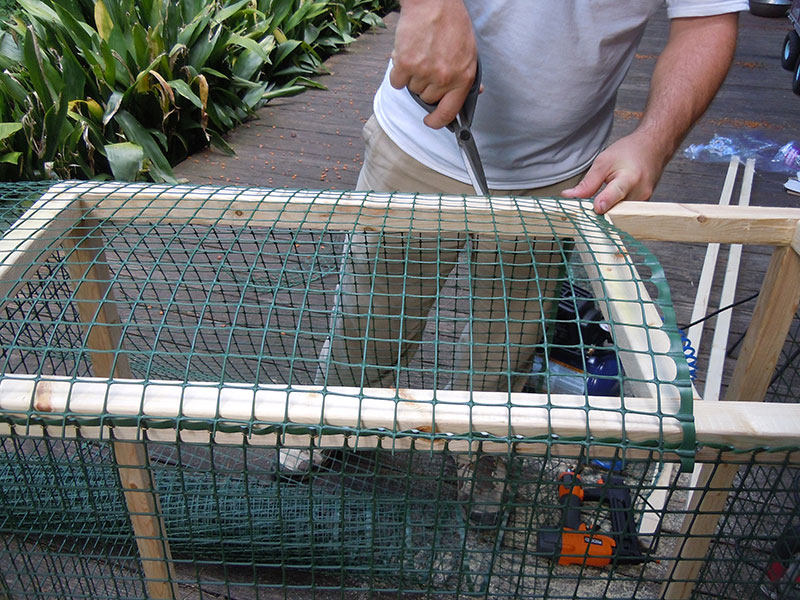
Once this is complete I trim all the excess screening off the edges like so:
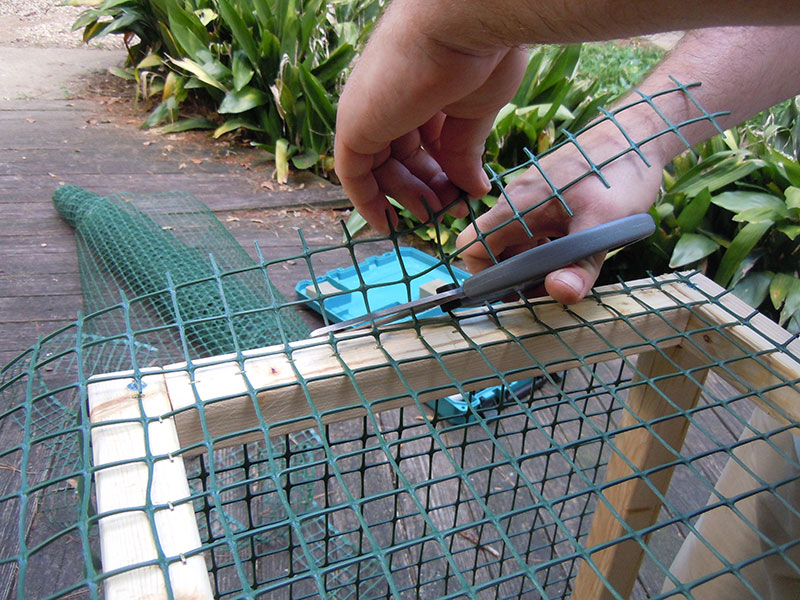
I make a conscious effort to cut the screening back behind the edge of the wood to make sure there are no sharp edges sticking out to cut or scratch someone or the animal when dealing with the trap.
The next obstacle I had to worry about was once the animal was trapped, how was I going to get them out of this trap and into a pet carrier so I could take them to the Vet’s office? I had read about a door you could construct to put a carrier up to and transfer the animal into the carrier. Sounded like a plan.
I used one of our smaller carriers to measure out the spacing and put a brace in the side where I wanted the door. This brace would allow me to attach the screening to the one side and then build some kind of door on the other. I decided to try and build a simple friction slide for the door as it would be easy enough to make and I had some quarter-inch plywood leftover from a previous project that would work well.
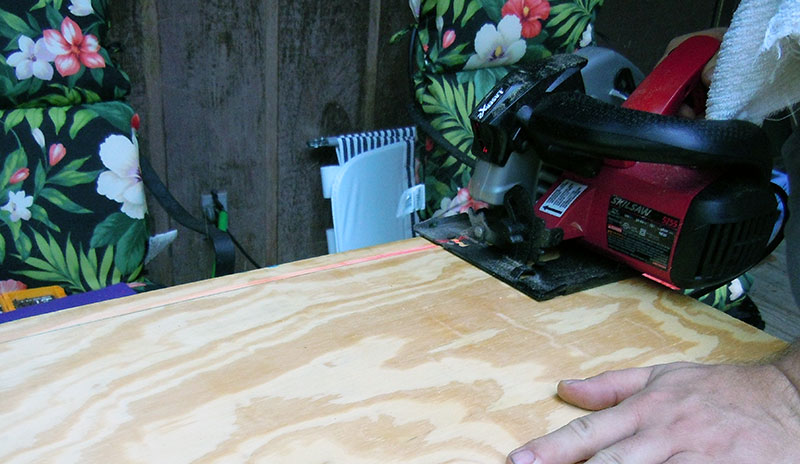
I cut off some strips from the plywood about an inch wide which I planned on using for the spacers. These spacers would be attached to the door frame on three sides to allow a cover to go over.
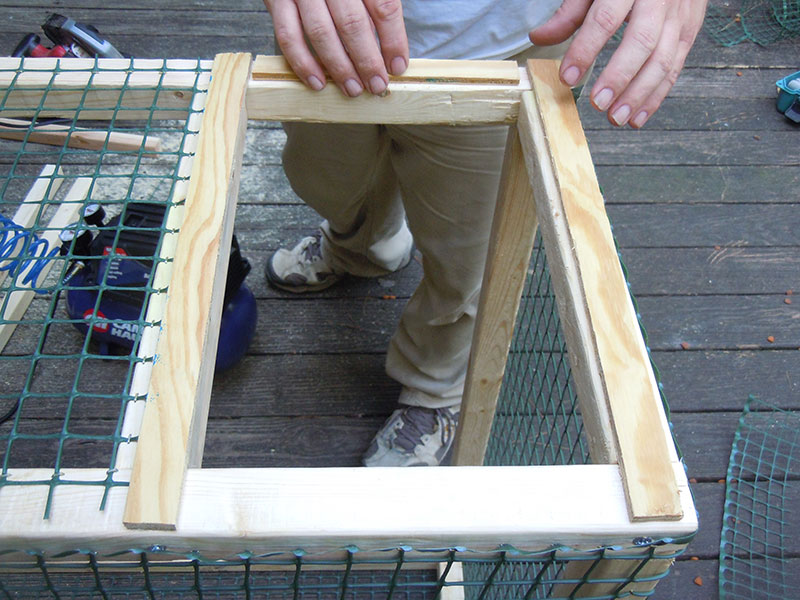 Now I needed to put in the door to make sure everything fits…
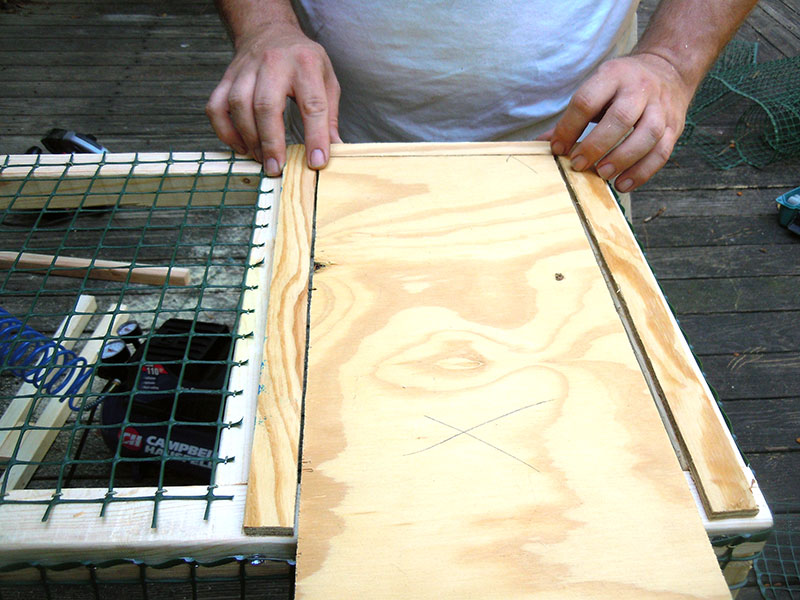
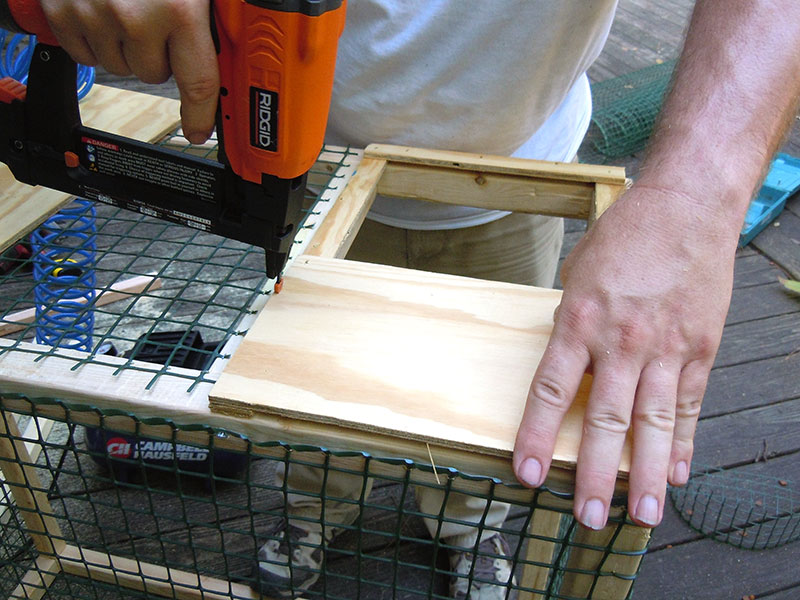
It looks like the door fits fine so now I need to attach the spacing strips to the side of the trap…
Once again I used the stapler and put five or six staples per side to make sure these were secure. I did not want the animal slamming into it at high speed and knocking it loose. Now I needed the backside of the door supports to hold in the door.
Now the door fits into the slot at the top and again in the slot at the bottom forming a nice tight sliding door. We could simply butt the carrier up against the door, slide the door up allowing access through from the drop trap into the carrier and coax the animal (with a little stick, but without any harm other than to their pride) into the carrier. There is a very small gap between the carrier and the door so as the animal enters the carrier I could put my gloved hand down to prevent the animal from escaping, use my other hand to swing the carrier door closed and latch it.
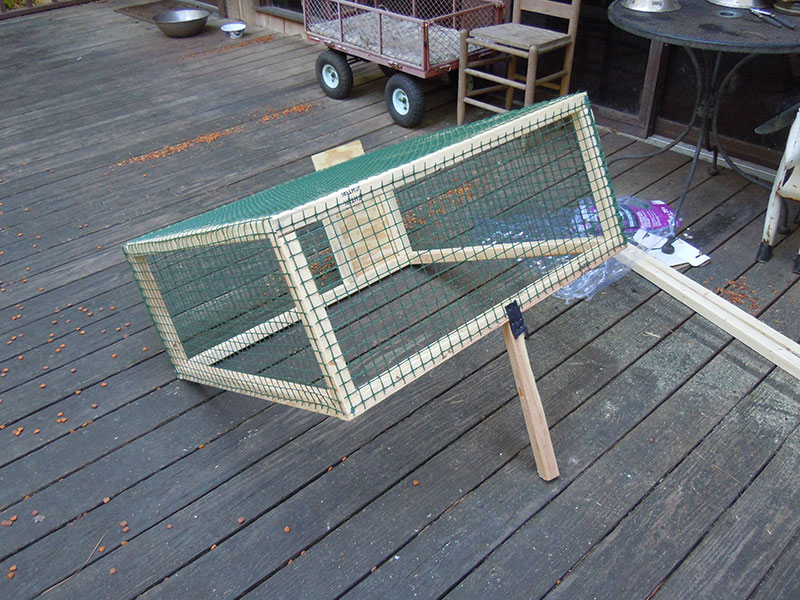
Now I guessed that I needed the trap to sit at about 16″ up on the one side to allow easy access for the animals under the lifted end of the trap so I cut off a 16″ piece of 2″x2″ and hinged it to the trap by stapling some heavy duty fabric I had between the two pieces of wood.
So how to attach the string to the piece of wood holding up the trap?
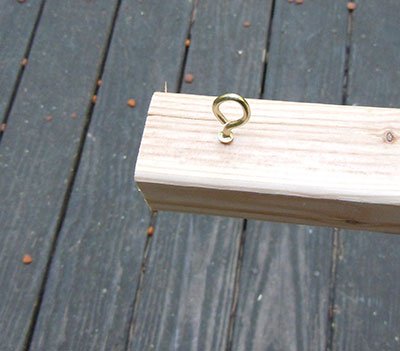
A simple screw eye put near the bottom of the piece of wood seemed like the ideal solution for attachment. I then ran the string in the mail slot of the door close by so I could pull the string without alerting the animals at all.
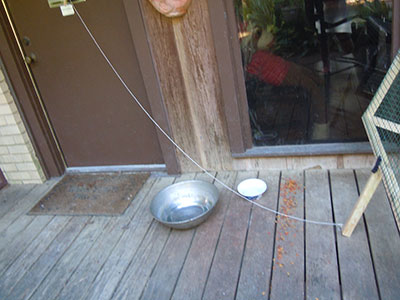 Now all that was left was to bait the trap and see if they liked it…
Here are mother and kitten eating some canned food minutes after setting up the trap for the first time. They did sniff around for about a minute before entering. We planned on feeding them in the trap that evening, the next morning and then the next evening, springing the trap on that third feeding. This was to make sure they were comfortable enough to be completely in the trap, and that we could observe and make sure everything looked good before springing the trap.
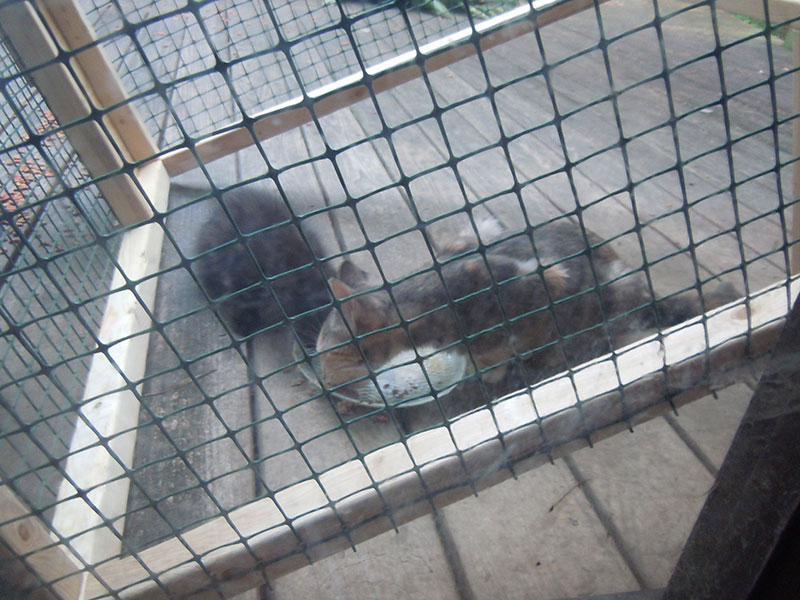
So how well did this trap work? The cats as expected did freak out, especially the kitten. They threw themselves into the side of the trap repeatedly with great force. Fortunately I had planned for that and the screening gave just enough so that no one was injured. A little prodding and both cats were loaded into separate carriers for their overnight stay and trip to the vet the next morning. Our plans are to fix the mother and release her outside while keeping the kitten safe inside.
Good luck with your catch!
Share this post!